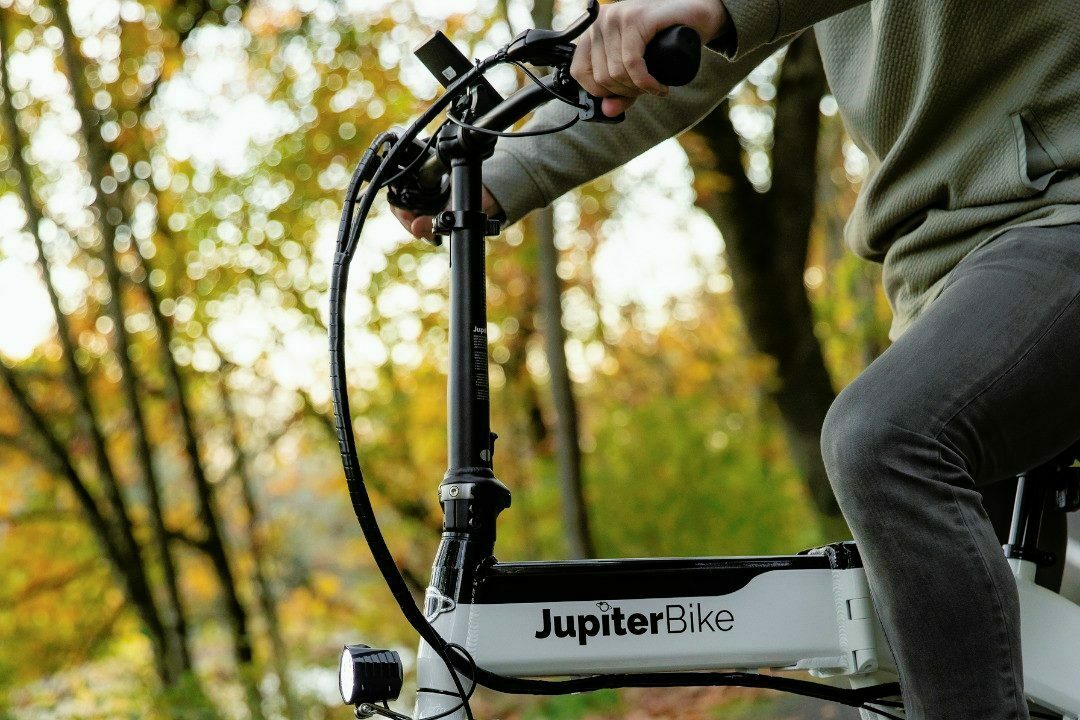
My commuting jacket is drying over a kitchen chair, and the cat has come down off the workbench to sniff the sleeve with deep suspicion. Fair enough. There's a stripe of brown grit up the back, the kind wet roads and mashed leaves throw up all autumn.
That grit ends up on brakes too. So here's a short pre-winter check for Defiant riders. I'm working from general technique and the JupiterBike product listings, not from my own bike.
Why autumn chews through brake pads
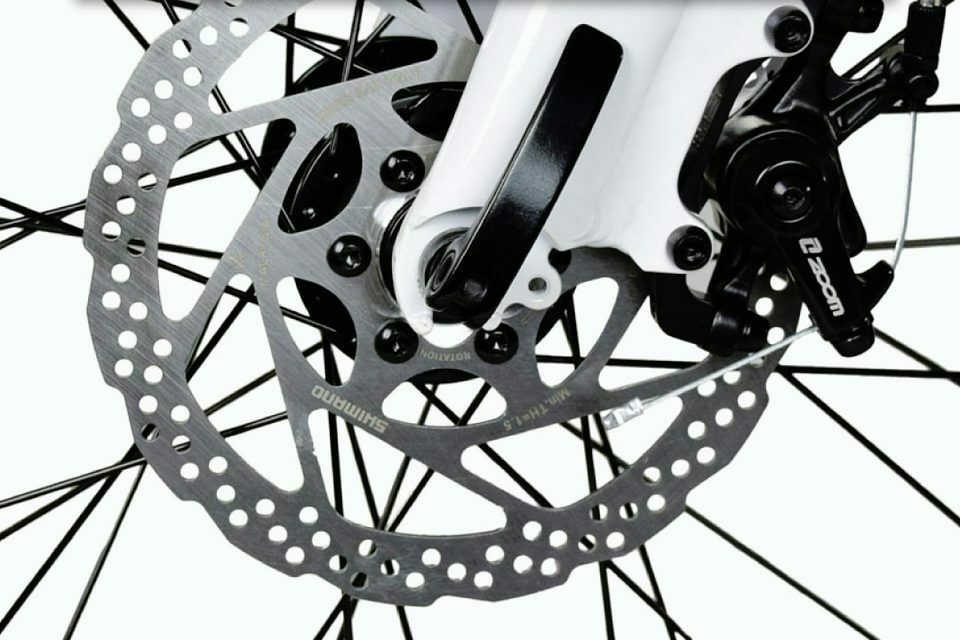
Quick jargon check. On a disc brake, a metal disc called the rotor is fixed to the wheel hub. Two pads squeeze it to slow you down. They sit in a caliper, the clamp that straddles the rotor.
Wet roads carry grit and leaf mush onto the rotor. When you brake, that grit gets trapped between pad and rotor and works like sandpaper, so the same commute wears pads faster than it did in July. Wet leaves can also leave a film on the rotor, which makes the first squeeze feel weaker. On leafy stretches, brake earlier and more gently than you think you need to.
Checking pads and rotors by eye
Find good light or a torch, and prop the bike so it can't tip. Look into the caliper from above or behind. You should see a pad on each side of the rotor: a metal backing plate with a layer of friction material (the grippy part) facing it. That layer is what wears away. The listings don't give a minimum thickness, so check your manual or ask a bike shop. Holding a new pad next to the old one shows how much has gone.
Things that mean stop and look closer: a metal-on-metal scrape when you brake, or a lever that pulls much closer to the bar than it used to. Pads that look glazed (shiny and hard on the surface) are worth a second opinion too.
Then spin the wheel slowly and watch the rotor. Deep grooves, a visible wobble or blue discolouration are worth a shop's opinion. Wipe it with a clean, dry rag and keep oily fingers and chain lube away, because contaminated pads lose grip. If anything looks wrong, take it to a shop. Brakes are not the place to guess.
Replacement pads: pick the right shape
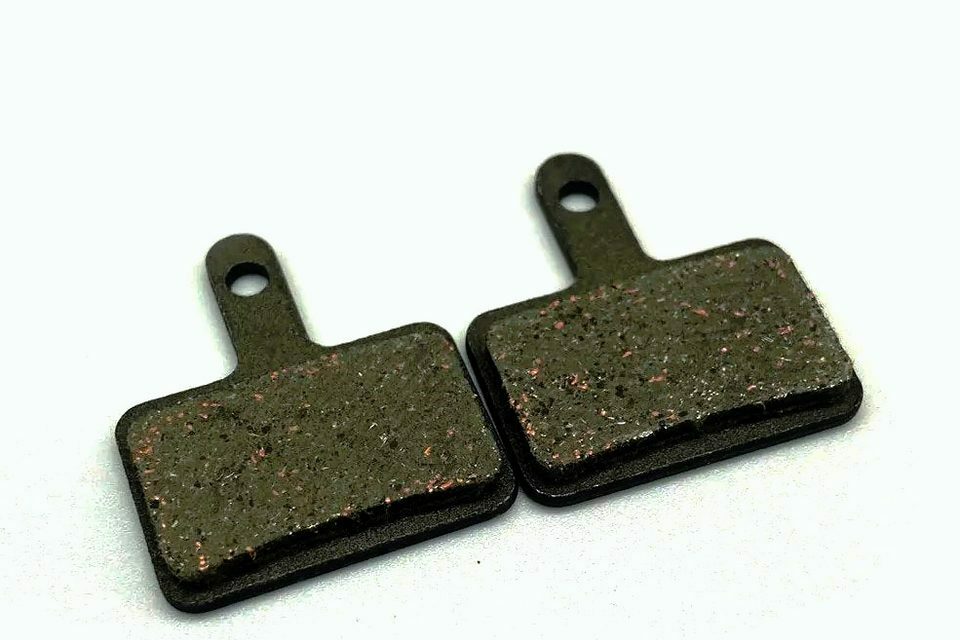
This is the bit I'd get wrong. JupiterBike lists two Defiant pad sets, split by model year. The Defiant 3/4" Circle Brake Pads Set is listed for 2022 and earlier Defiants. The Defiant Zoom 680 Rectangle Brake Pad Set is listed for 2023 and later. Look at the shape of the pad in your caliper before ordering.
Both are listed as 1 pair (2 pieces) for the front or rear brake, so doing front and rear means two sets. The listings mention Kevlar fiber, all weather condition, non-asbestos, a high friction coefficient (roughly, how much grip the pad makes on the rotor) and good water recession. There are no test numbers, so that's as far as I can take it.
Do one brake at a time so the other stays as a reference, then bed in the new pads with controlled stops somewhere quiet. Your manual or a shop can give you the routine.
The multitool bits that cover these jobs
The Multitool Bike Tool for All JupiterBikes lists 2, 2.5, 3, 4, 5 and 6 mm hex keys (Allen wrenches), 8, 9 and 10 mm sockets, cross head and flat head screwdrivers, and 8, 10 and 15 mm open end wrenches. Its listed weight is 7 ounces.
Hex keys handle a lot of caliper and fender bolts on bikes in general, but check the size before turning anything. Start each bolt by hand so it doesn't cross-thread (go in crooked and chew the threads), then tighten it snug rather than as hard as you can. I once rounded off a bolt on a long-abandoned shelf project with a key one size too small. Don't be me.
Ruby's tip
Check your pads before the first cold snap, not after it. Once it turns cold and wet you'll want to be riding, not kneeling in the hallway with a torch and a cat sitting on the instructions. A quick look on a dry afternoon in early November leaves time to order parts or book a shop visit.